Photo Enhancer logoPhoto Enhancer
— / 1 free todayGet credits

AI IMAGE SHARPENING

Sharpen Image
Natural detail, original size.

Sharpen image details in soft photos while keeping the original dimensions. Choose Balanced or Gentle, compare textures and edges at the same display size, then download.

Edges and texturesOriginal-size outputCheck halos and noise
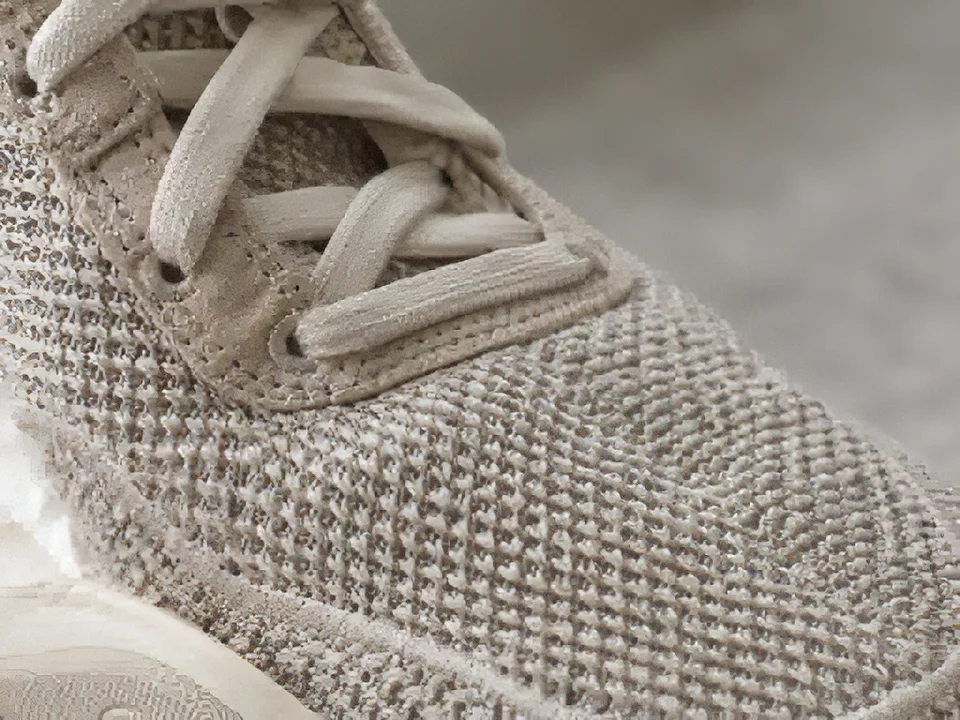
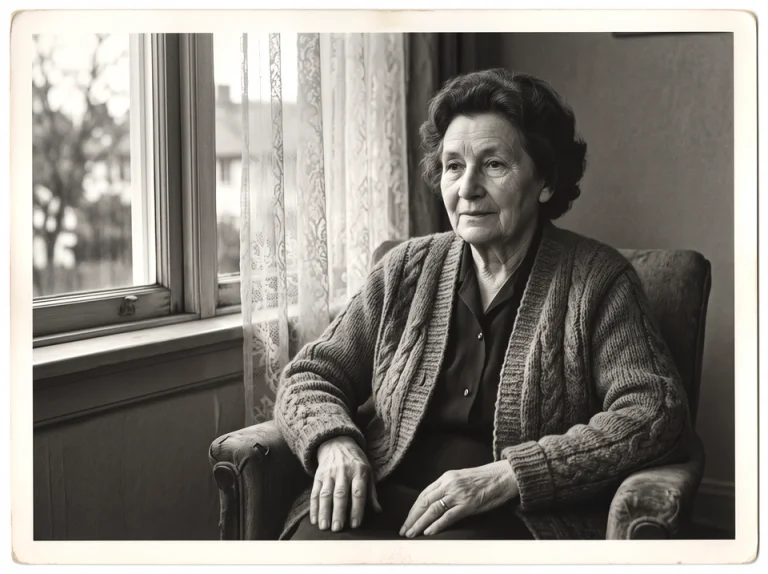
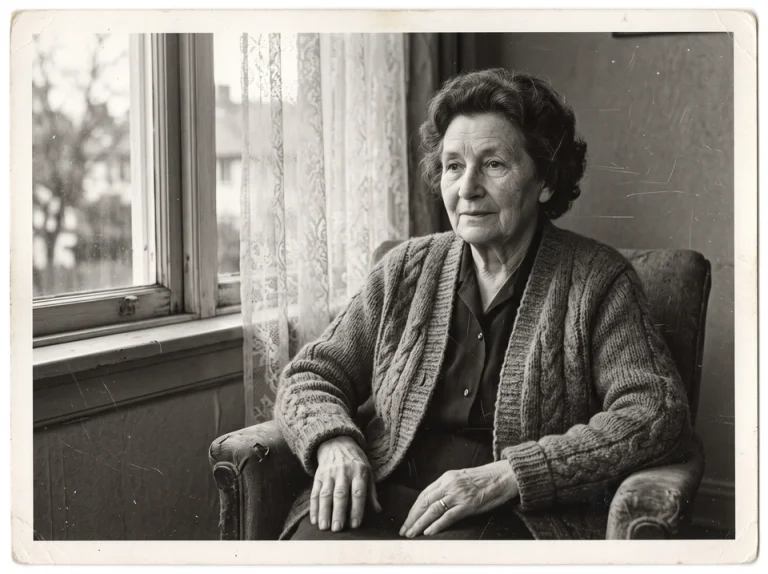
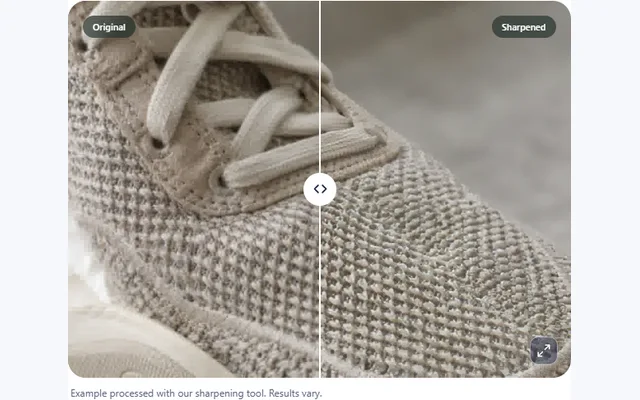
Woven product texture before and after image sharpening
OriginalSharpened
Example processed with our sharpening tool. Results vary.

Compare texture and edges at the same size. Check halos and background noise before downloading.

Upload a photo

Choose a photo and a preset.

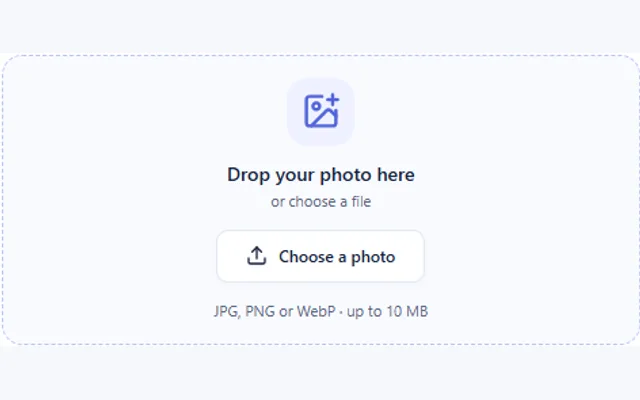
Drop your photo hereor choose a fileJPG, PNG or WebP · up to 10 MB
Sharpening preset

Upload a photo to confirm it fits your plan and see the exact credit cost.

Your plan and the source dimensions determine the available input. The cost is shown before processing; the output keeps the original size.

Checking processing cost…

Private image storageThree download formatsNo forced watermarks

How to sharpen an image online

Sharpen Image interface: Choose a photo
Choose a photo
01

Upload the best available file

To sharpen image details, choose a JPG, PNG or WebP within the displayed limits. Start from the original camera export when possible — a screenshot of a thumbnail or a repeatedly compressed copy may have lost useful detail before it reaches the tool.
Sharpen Image interface: Choose your settings
Choose your settings
02

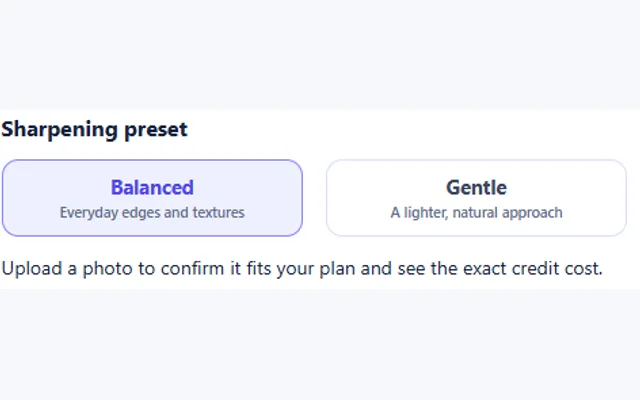
Pick a preset and review the quote

Choose Balanced for everyday detail or Gentle for a lighter approach. Before you sharpen image details, the tool shows the expected dimensions, required credits and any account limit that applies. Selecting a preset does not start a paid task by itself.

Sharpen Image interface: Example comparison view
Example comparison view
03

Compare, inspect and download

Select Sharpen image once to begin. Watch the upload, queue, processing and saving stages in the preview area. When the result is ready, compare it at the same display size as the original and inspect fine edges, then download the format that fits your workflow.

Sharpen image details across everyday scenes

A useful image sharpener makes the detail you care about easier to inspect — stitching on a product, hair in a portrait or branches against the sky. It should also give you a way to notice when the result has become too harsh. Move the divider across the same area in both images and pay attention to the edge itself and the surrounding surface: a bright outline can look impressive at a glance while making the photograph less natural.

A closer look at natural sharpness

01

Sharpen image textures in product photos

Product photos often depend on small surface details. A slightly soft image can hide fabric weave, stitching or the edge of a ceramic object. Sharpen image textures only as far as the original material supports them, and check that smooth areas have not become gritty. For a listing, inspect the downloaded photo at the size shoppers will actually see.

02

Keep portraits and pet photos natural

When you sharpen image details in portraits or pet photos, focus on hair, eyelashes and whiskers. Faces and fur can also look overprocessed — the Gentle preset is a starting option when natural texture matters more than a dramatic change. This page does not redesign a face or change a pet's markings, so a photograph that is already crisp may need little additional treatment.

03

Inspect feather detail and background noise

Wildlife photos often combine a detailed subject with a smooth background. When you sharpen image detail in feathers, check the out-of-focus areas too: more visible grain is not the same as more useful subject detail. Preserve the difference between focused and naturally blurred areas; if heavy noise dominates, sharpening alone may not be the right first edit.

04

Sharpen image edges without ignoring halos

Branches, rooflines and window frames make edge changes easy to see — and reveal bright or dark fringes when a treatment is too strong. Inspect both sides of a high-contrast boundary and keep perspective, patterns and natural depth believable. A more dramatic outline is not automatically a better final image.

WHAT YOU CAN DO

Sharpen image details with useful control

Sharper is useful when it makes the subject easier to see without distracting from the photograph. These features help you choose an approach, inspect the change and keep the dimensions you already need for your layout.

Two presets for different starting points

Balanced is the starting point for everyday edges and texture. Gentle offers a lighter approach when the source already has visible contrast or delicate detail. Try the preset that fits the photo, then compare the result. Selecting another preset for the original is a new processing task with a fresh quote, rather than a free live slider.

Try Gentle on a portrait with visible skin texture, then check whether it still looks natural.

Keep your existing image dimensions

This tool sharpens at the supported original size instead of automatically enlarging the picture. That makes it useful when a product photo, blog image or presentation already fits its layout but looks slightly soft. You can focus on the appearance of edges and texture without also deciding how many extra pixels to add.

A supported 1600 × 1200 photo stays 1600 × 1200 after sharpening.

Look beyond the sharpest edge

Use the comparison divider to inspect product seams, fur, feathers or branches against the same areas in your original. Check nearby backgrounds too: a more defined subject can come with stronger noise or light outlines. The full-screen view gives you more room to decide whether the change helps the picture you want to publish.

For a bird photo, inspect feather detail and the smooth sky around it before downloading.

Export a version that fits your workflow

Download a sharpened copy in JPG, PNG or WebP and keep your original available for comparison or future editing. Changing the format of the saved output does not run sharpening again. If the picture is also too small for its destination, use the separate enlargement tool rather than expecting sharpening to increase its dimensions.

For a web article, inspect the copy at the published display size and choose a format that suits the page.

Need more pixels as well? Compare enlargement options

Image sharpening, upscaling and deblurring

Image sharpening focuses on the appearance of existing detail. This tool keeps the processed input's pixel dimensions, so a 3000 × 2000 image remains 3000 × 2000 — a larger file size after saving does not mean the picture has gained resolution.

If your main task is to make an image larger, visit the Image Upscaler. To inspect letters and numbers in a screenshot, use Unblur Text. For broader changes to a photograph's appearance, explore the Photo Enhancer. Each tool addresses a different job.

Credits and original-size downloads

A completed task currently uses 8 credits within this tool's supported limits, shown before you sharpen image details. Available free credits are shared across eligible tools; subscriptions determine the largest source image you can process, and a credit pack adds balance without changing those limits. Changing download format, examining the comparison and re-downloading the same saved result never run the model again. Compare credit plans.

Keep expectations tied to the source

You can try to sharpen image detail affected by mild softness, but severe motion blur or missing information may remain unresolved. A new capture can be more useful than another processing pass when the important detail was never recorded clearly.

Sharpen image questions

Can I sharpen image details for free?+

Yes, when your available free allowance covers the displayed task cost. The allowance is limited and shared with other eligible tools. Sign in to use an account balance or review the options shown when the free allowance is exhausted. A lifetime limit does not reset each day.

Can I sharpen image detail without making the picture larger?+

Yes. This tool processes the image at its existing dimensions. View the actual width and height in the result panel. Use the separate enlargement tool if you need additional output pixels rather than an original-size sharpening pass.

Why can noise increase when I sharpen image details?+

Sharpening can make unwanted edges and grain more noticeable. Inspect the image at the same scale before and after processing, especially in backgrounds and shadows. If the result looks harsh, consider the Gentle preset or keep the original; stronger treatment is not always useful.

Can I sharpen image files with severe blur?+

You can inspect the result, but sharp, accurate detail is not guaranteed when the source is severely blurred. Missing edges cannot always be reconstructed faithfully. This page initially focuses on slightly soft images, without promising complete recovery of every damaged photograph.

Does changing the preset cost credits?+

Selecting a preset is free. Starting another model run is a new task and uses the amount shown on its button. Your existing result remains available while you consider another setting. Downloading it again does not count as another enhancement.

What happens if the task fails?+

Reserved credits or free allowance are returned when processing fails before a usable result is delivered. The task status explains the failure. A successfully delivered result that you dislike is a different case: use the feedback controls to report softness, halos, noise or unnatural detail.

Can I sharpen image files in RAW format or process a batch?+

The initial version accepts one supported static JPG, PNG or WebP at a time. RAW processing and batch queues are not included in this page's launch features. Export a suitable image first, and review its dimensions before uploading it.

Ready to compare your own photo?

Upload it above and sharpen image details at the original size — then judge the edges, not just the thumbnails.

Sharpen an image →