Photo Enhancer logoPhoto Enhancer
— / 1 free todayGet credits

REMOVE BACKGROUNDS WITH AI

Background Remover
Clean, transparent photos.

Use the background remover to isolate your subject and download a transparent PNG. Check the edges or add a solid background when your layout needs it.

REAL BEFORE & AFTER
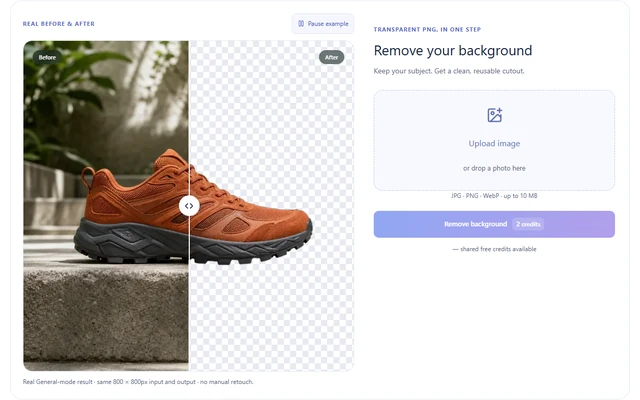
A sneaker before and after background removal
BeforeAfter

Background removal example · drag the divider to inspect the edges.

TRANSPARENT PNG, IN ONE STEP

Remove your background

Keep your subject. Get a clean, reusable cutout.

or drop a photo here

JPG · PNG · WebP · up to 10 MB

— shared free credits available

01 · Same photo, transparent output

See a Real Background Remover Result

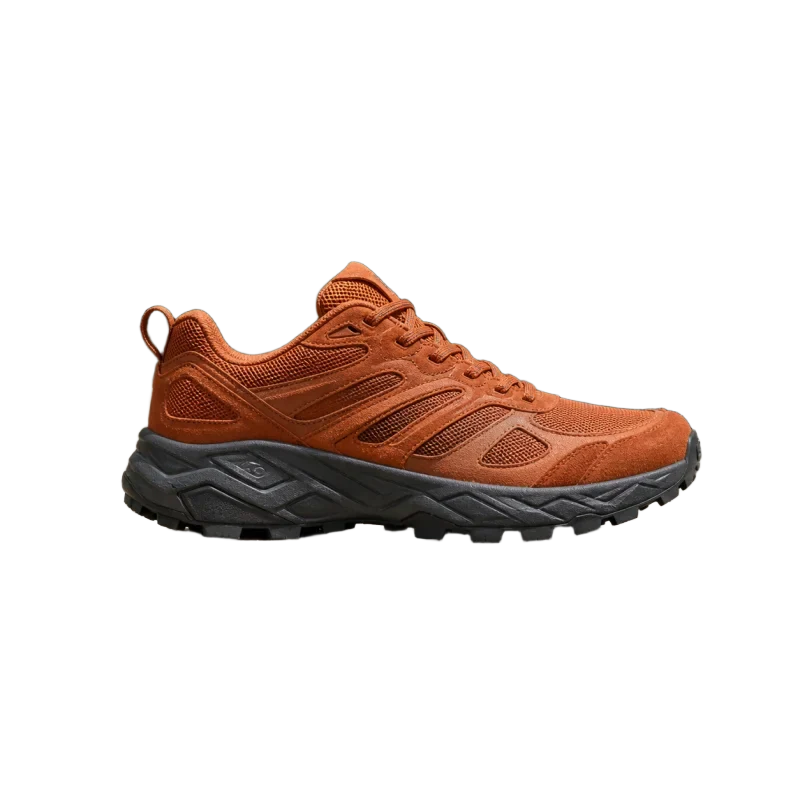
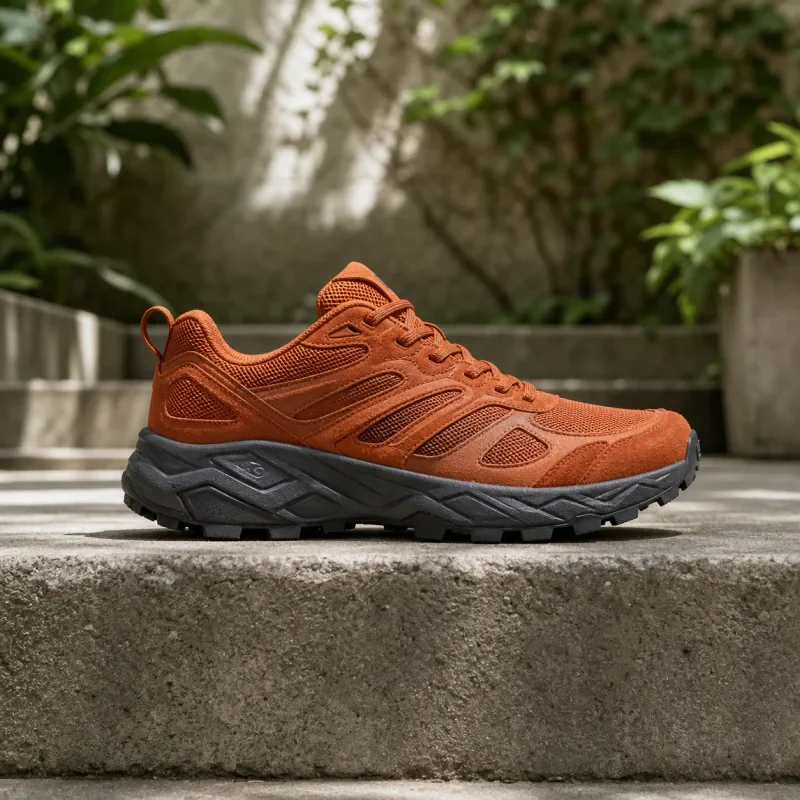
Actual orange shoe cutout produced from the matching original photograph
OriginalTransparent result
Before & after

A shoe cutout you can inspect

One source photo becomes an image with a transparent background. Move the divider to inspect the shoe outline and sole; change the inspection color to see its boundary against different backgrounds.

Input
800 × 800 px
Output
800 × 800 px · PNG
Download
Transparent PNG
Next step
Check the edges

Inspect the outline and small gaps. Use optional edge controls where a part needs restoring or removing.

02 · Upload → remove → download

How to Use the Background Remover in Three Steps

  1. Background Remover interface: Upload an image
    Upload an image

    Upload one image

    Choose a static JPG, PNG or WebP. Check its dimensions and any size-limit message. A clear boundary and good lighting make the subject easier to distinguish from its surroundings.

  2. Background Remover interface: Start background removal
    Start background removal

    Remove the background

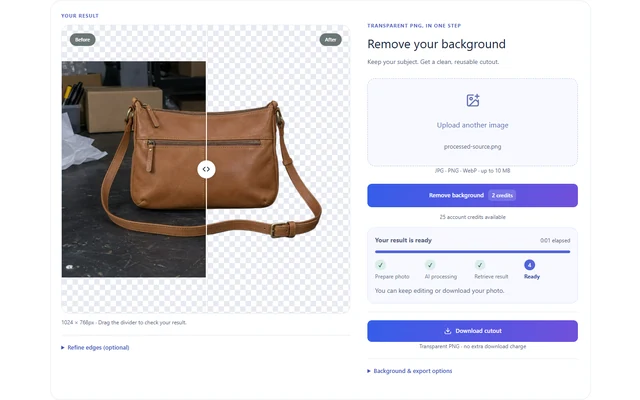
    Read the processing cost on Remove background and start the request. The resulting cutout appears in the workspace. Use light, dark or checkerboard inspection backgrounds to see the boundary.

  3. Background Remover interface: Inspect and download a transparent PNG
    Inspect and download a transparent PNG

    Download your cutout

    Choose transparent PNG for reuse or a solid export color. If an edge needs correction, open the optional refinement controls first. These local changes and another download do not start another paid removal.

03 · Purposeful image preparation

A Background Remover for Products, Portraits and Pets

Compare the same input with the returned result. These demonstrations show distinct tasks, including details that still need inspection.

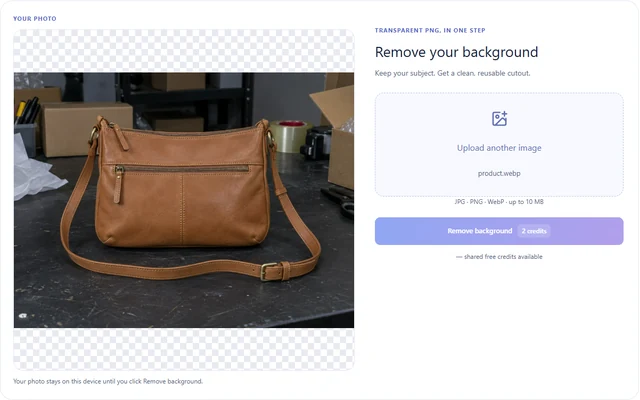
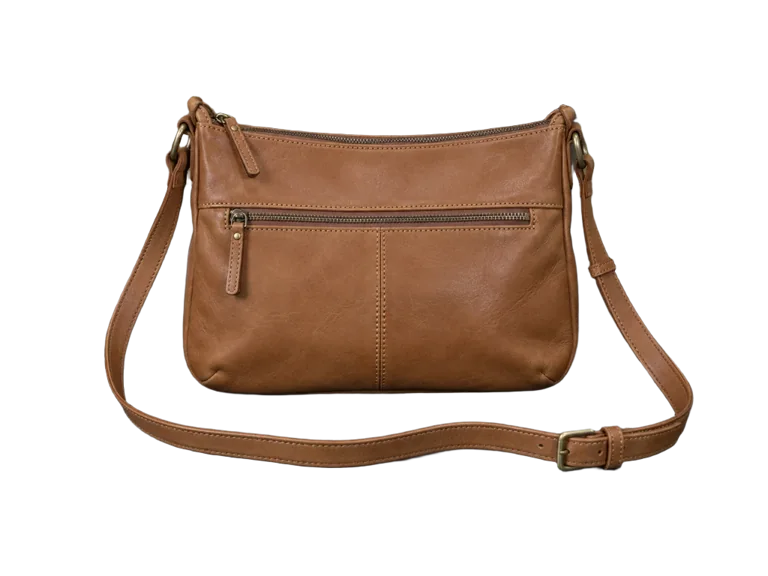
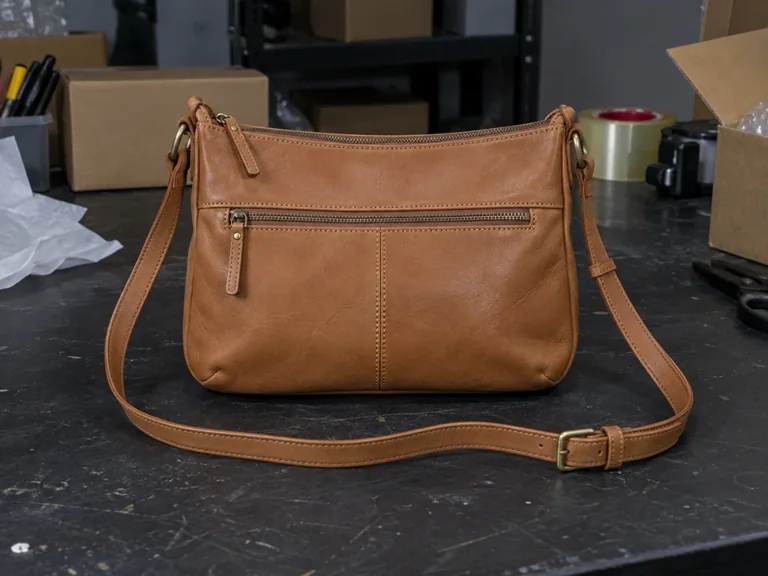
Same-source handbag product photo compared with its transparent background removal
OriginalTransparent cutout

A product cutout for a catalog layout

A room background competes with a handbag in a catalog or shop layout. The seller needs a reusable subject without changing its photographed material.

Try this
Remove the background and export transparent PNG. Place the downloaded cutout in the intended layout; choose a solid export only when the destination requires it.
Check the result
Inspect the handle opening, strap, hardware and dark edges. Keep the photographed condition honest and follow the destination image rules.
Remove your photo background →
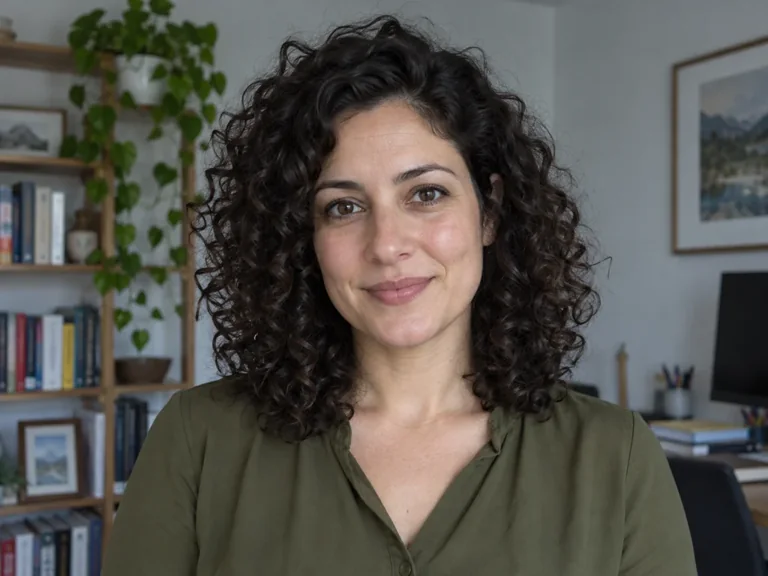
Same-source curly-haired portrait before and after automatic background removal
OriginalTransparent cutout

A portrait cutout with curls to inspect

A profile or team slide may need the person against a new layout. Curls and loose hair make the boundary more demanding than a solid product outline.

Try this
Run removal, inspect the hair against the final destination color and open optional edge controls only where a correction is necessary.
Check the result
Check loose strands, shoulders and gaps between curls. A single demonstration does not establish that every strand is retained on every portrait.
Remove your photo background →
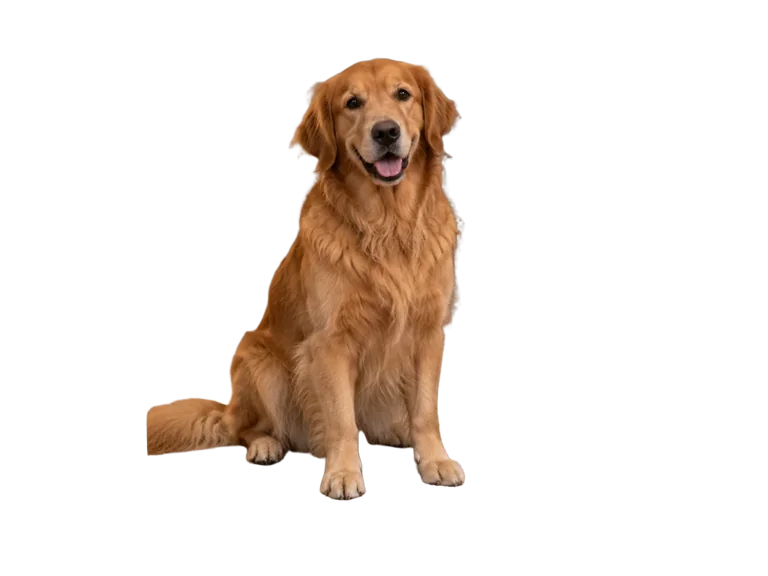
Same-source dog photograph compared with its transparent fur-edge cutout
OriginalTransparent cutout

A pet cutout for a personal design

Furniture and a room background can distract from a pet in a card or sticker composition. Fur can reveal a fringe when placed over another color.

Try this
Remove the surroundings, compare the silhouette and download a transparent PNG. Refine small areas locally rather than paying for another removal to change the export color.
Check the result
Look for lost whiskers, clipped fur and retained floor around paws. Restore brings back source pixels; it does not reconstruct missing fur.
Remove your photo background →

Explore these examples, then try the change on your own photo.

04 · Useful output before extra controls

Background Remover Results You Can Refine and Reuse

Automatic removal

Separate the subject first

  • A reusable transparent PNG. Place the isolated subject over another layout rather than exporting a baked-in checkerboard.
  • Visible output dimensions. Check the delivered pixel size before putting the cutout in a template.
  • Inspection backgrounds. A dark preview exposes pale fringes; a light preview can reveal dark leftovers.
Optional local finishing

Refine only when needed

Open the advanced edge controls for Erase, Restore and undo or redo. Erase hides retained background. Restore brings back source pixels in an area that was removed. Brush size and position controls let you make a deliberate small correction.

A pure-color export is different from a preview background: it becomes part of the downloaded file. Neither operation creates a new photographed environment, surface lighting or realistic generated shadow. The background remover isolates and composites your subject; creative scene generation is a different task.

05 · Inspect the evidence

How can I get cleaner edges with the background remover?

Start with a clear subject

Use this background remover with your sharpest source photo and include the whole subject. A clear difference between the subject and the background makes the outline easier to judge. Cropped-off handles, paws or hair cannot be restored from pixels that were never in the photo.

Inspect hair, straps, gaps and the area around the feet after removal. Try the cutout against the background you plan to use. Where the edge needs a small correction, use Erase for leftover background or Restore to bring back part of the original subject.

Choose a background and format

Download a transparent PNG when you want to place the subject in another layout. Choose a solid background for a listing or document that requires one. Changing the export background or refining an edge does not require another paid removal.

The W3C PNG specification describes an optional alpha channel. PNG can store transparency, whereas an opaque JPG requires a background fill. Check the downloaded image in its final layout before deciding that a white-looking viewer means the transparency was lost.

Questions before you upload

Background Remover Questions

Is the background remover free?

The background remover can use your available shared trial allowance for eligible processing. It is limited and shared with other eligible tools, not an unlimited giveaway for this page. Remove background shows the cost before processing starts. Local edge refinements, background colors and repeated downloads do not create another AI task.

How do I remove a white background without losing the product?

Remove the background, then inspect the cutout on a dark preview color. White materials and reflections can blend into the source background. Open the optional edge controls and Restore missing areas using source pixels, or Erase retained background. Low-contrast white-on-white photographs may need manual refinement; automatic perfection is not guaranteed.

Why does my transparent image look white after download?

Some viewers display transparent pixels against white, and JPG cannot retain transparency. Choose transparent PNG, then place it over a colored background in the destination application. The checkerboard is only a preview aid. Choosing White or Color for export intentionally creates an opaque background instead of a reusable transparent cutout.

Can I remove backgrounds from hair, fur or glass?

You can try a supported photo, but fine strands, low-contrast boundaries and translucent materials remain difficult. Inspect the result against light and dark backgrounds, then refine where useful. Check fine edges against the background you plan to use, and correct small areas only where needed.

Does the background remover keep the original image size?

The tool keeps the image dimensions for background removal. Your input must also fit the current processing limits, which appear in the workspace. If a smaller copy is needed, choose it explicitly; check the displayed output dimensions before downloading. Removing a background does not enlarge missing source detail.

Does correcting an edge or changing the background cost more?

No new AI request is created by local Erase, Restore, inspection-background changes or solid export colors. Use undo and redo to revisit edge edits. Running Remove background again is a new processing task with its displayed cost, so try a small local correction before paying for another automatic result.

Can I remove backgrounds in bulk or use the output as an ID photo?

This launch workflow processes one static image at a time. Batch queues, video removal and automated publishing are not included. A cutout also does not automatically satisfy marketplace or identity-document rules. Check the destination requirements, source size and visible edges before using the downloaded image for a regulated or commercial purpose.

What happens to my upload if processing fails?

The background remover uploads the image for server-side processing. A confirmed technical failure before delivery releases the reserved processing cost. Keep the original available and read the privacy policy before sending sensitive material. A browser session or a temporary result view is not a permanent archive of your files.

Try the Background Remover on Your Own Photo

Upload your photo, remove its background and choose the file your next layout needs.

Open background remover