 Photo Enhancer
How to Make Old Blurry Photos Clearer with AI
A practical 2026 guide to clearing old blurry photos with AI: what can be recovered, the step-by-step workflow, realistic limits, and the exact tools and settings to use.
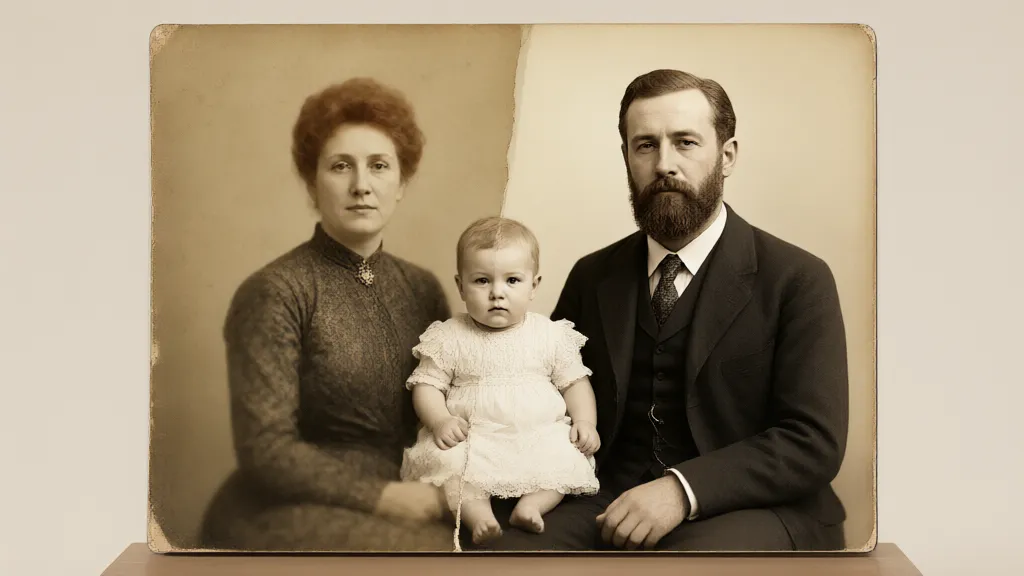
Yes — AI can make an old blurry photo look clearer, as long as the original image still contains visible detail. AI enhancement sharpens edges, reduces noise, and can enlarge the photo with reconstructed detail. What AI cannot do is recover information that was never captured: a face that is a smear of 8 pixels, or text that was out of focus when the photo was taken, cannot be turned into a faithful high-resolution original. Expect a visibly cleaner, sharper, often larger photo — not a perfect recreation of a lost moment.
This guide explains why old photos look blurry, walks through a complete enhancement workflow, and states the real limits so you can judge results honestly.
Why do old photos look blurry?
Old photos lose sharpness for a small number of repeatable reasons, and the reason determines how much an AI tool can help:
| Cause of blur | What it looks like | Can AI help? |
|---|---|---|
| Low resolution | Small image, soft edges when enlarged | Yes — upscaling rebuilds plausible detail |
| Focus or motion blur | Smudged outlines, doubled edges | Partly — enhancement helps, lost detail is gone |
| Film grain and age | Noisy, faded, washed-out tones | Yes — denoise and tone correction work well |
| JPEG compression | Blocky artifacts around edges | Partly — artifacts soften, some stay |
| Physical damage | Scratches, dust, tears on scans | Yes — restoration tools clean these directly |
One photo often combines several causes. A 1980s family snapshot scanned at low resolution has low resolution, grain, and fading at the same time, so the workflow below moves through enhancement steps in a deliberate order instead of applying one fix to everything.
How to make an old blurry photo clearer, step by step
The workflow uses browser-based tools, so nothing needs to be installed. Every step below links to a specific tool so you can follow along with your own photo.
Step 1: Scan or export the best original you can
Start from the largest, cleanest version of the photo you have. Scan prints at 600 DPI if possible, and export phone photos at full size. A bigger, cleaner input gives every later step more to work with. Accepted upload formats are JPG, PNG and WebP, with a maximum of 10 MB and 12 megapixels per image — which covers most scans and phone exports.
Step 2: Run overall enhancement first
Upload the photo to the online photo enhancer and pick the scene that matches the subject: portrait, product, landscape, pet or general. Overall enhancement processes the whole frame — cleaning noise, correcting tone and improving perceived sharpness — before you zoom into specific problems. Eligible photos are automatically enlarged to a supported 2× output, and the exact expected dimensions are shown before processing starts.
Step 3: Fix specific damage on old prints
If the photo is an old print with scratches, dust spots or faded tones, use the photo restoration tool. It cleans surface damage and refreshes faded tones while keeping the output at the original size, so you can compare it directly against the scan. Restoration does not invent missing content: it will not rebuild a face that is completely destroyed, and it does not colorize black-and-white photos. For the full old-family-photo workflow — including keeping faces true to the original — see how to restore old family photos without changing faces.
Step 4: Enlarge for printing or screens
When the photo is clean but too small for its destination, use the image upscaler. It enlarges 2× or 4× with AI-reconstructed detail instead of stretched pixels, shows the exact output pixel dimensions before you commit, and supports large outputs for print layouts. A 2,048-pixel result is enough for full-width web use; printing at 300 DPI usually needs more, which is what 4× and the higher resolution targets are for.
Step 5: Compare against the original before using the result
Never trust an enhanced photo blindly. Drag the before/after slider across faces, lettering and textures, because generative enhancement can subtly change small details. A good comparison habit is to check three things: whether faces still look like the same people, whether text is still the correct text, and whether fine textures (fabric, hair, brickwork) look natural rather than painted.
What are the realistic limits of AI photo enhancement?
Honest limits matter more than marketing claims when the photo is irreplaceable:
- Lost detail cannot be invented truthfully. AI reconstructs plausible detail. An extremely blurred face may come back sharper but slightly different; if historical accuracy matters, prefer non-generative upscaling paths and inspect the result.
- Severe blur has a ceiling. The blurrier the source, the more the output depends on the model's guess rather than the photo's information.
- Text needs verification. Enhanced lettering must be checked character by character against the original before you rely on it — enhancement can sharpen wrong strokes into confident-looking wrong letters.
- Results vary by photo. Grain and fading respond well; heavy motion blur responds least.
How long does it take and what does it cost?
Processing one photo typically takes from a few seconds to about a minute, depending on the tool and output size. On enhancerphoto.com, visitors can try the tools without installing anything or creating an account: eligible guests share a daily allowance of free credits (8 per day at the time of writing, resetting at midnight UTC), and a standard enhancement costs 4 credits. Signed-in accounts spend purchased credits instead — pricing and credit packs lists the current rates. Exports never carry a watermark, in JPG, PNG or WebP.
Frequently asked questions
Can AI make a blurry photo clear without changing it?
AI can sharpen and denoise a blurry photo while preserving its structure, and non-generative upscaling enlarges without re-imagining content. Generative enhancement goes further and may alter small details, so compare the result with the original — the comparison slider on every tool page makes this a two-second check.
Can I enhance old photos for free?
Yes. The tools on enhancerphoto.com can be tried without an account using the shared daily free credits, and there is no watermark on downloads. Larger volumes or bigger outputs need account credits. The free tier's exact rules are covered in free AI photo enhancers without watermarks.
Do I need to install software to enhance photos?
No. Every tool mentioned in this guide runs in a browser. You upload a photo, process it, compare, and download the result.
Is it safe to upload family photos?
Photos are processed in the cloud, stored only for you, and automatically expire — after 24 hours for guests and 7 days for signed-in accounts — with deletion available at any time. Nothing is published or shared anywhere by default.
Will upscaling a small photo make it blurry again at bigger sizes?
Upscaling enlarges with reconstructed detail, so results hold up better than plain stretching, but quality still depends on the source. A very small or heavily compressed image enlarged 4× will look softer than a clean 2× enlargement — when in doubt, prefer the smaller factor and check the preview.
Try it with your own photo
The fastest way to see what AI can recover from your old blurry photo is to run one through the photo enhancer and drag the comparison slider. If the photo is a damaged old print, continue with photo restoration; if it simply needs more pixels, finish with the image upscaler.
Related guides
- How to restore old family photos without changing faces — the full old-photo workflow: scan, repair, careful face enhancement, upscale, verify.
- Best free AI photo enhancers without watermarks — how free tiers really work and which exports stay clean.
- Best free online AI photo enhancers in 2026, compared — how EnhancerPhoto compares with PicWish, Fotor, Remini and OpenPixels.