 Photo Enhancer
How to Restore Old Family Photos Without Changing Faces
Can AI restore old family photos while keeping faces true to the original? This 2026 guide covers why AI sometimes alters faces, a face-safe restoration workflow, and how to verify results.
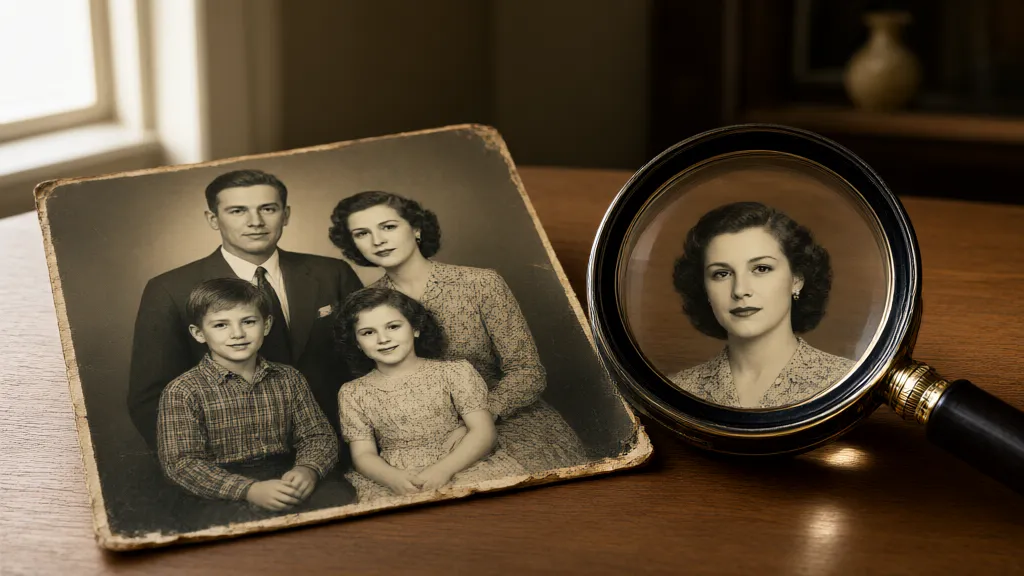
Yes — old family photos can be restored with AI while keeping faces recognizable, but no tool can guarantee a historically faithful face. AI restoration reconstructs damaged areas, and when a face is badly degraded, the model fills the gap with its best statistical guess. That guess usually preserves identity, yet it can subtly change eye shape, skin texture or expression. The reliable approach is a face-safe workflow: repair damage first, enhance faces conservatively, and verify every result against the original before accepting it.
This guide explains exactly why AI sometimes changes faces, then walks through a workflow that keeps that risk small and checkable.
Why does AI restoration sometimes change faces?
A restoration model does not "know" your grandfather's face. When it meets a blurred or damaged region, it predicts the most likely face given its training data and the surrounding image. Three factors decide how far the result drifts from the original:
| Factor | Effect on the face |
|---|---|
| How degraded the source face is | An 8-pixel smear leaves the model guessing; a soft but complete face constrains it |
| Whether the tool uses generative re-rendering | Generative models may redraw details; upscaling-style models mainly enlarge existing structure |
| Enhancement strength and settings | Stronger "enhance face" processing means more model influence on the result |
This is why identity drift is not a bug in one product — it is a property of reconstructing missing information. Any honest tool tells you to compare faces after processing instead of promising perfect fidelity.
How to restore an old family photo, step by step
The workflow below uses browser tools, needs no installation, and orders the steps so faces are handled conservatively.
Step 1: Scan the original at high quality
Scan the print at 600 DPI, or photograph it flat under even light if no scanner is available. Capture the whole print including its border, and keep the file in JPG, PNG or WebP under 10 MB and 12 megapixels. The restoration that follows is capped by this scan: more input pixels mean the model reconstructs less and copies more.
Step 2: Repair scratches, dust and fading first
Start with the photo restoration tool. It cleans scratches and dust and refreshes faded tones while keeping the output at the original size — no re-imagining of the whole frame. Choose "damage" cleanup for physical marks, "tones" for washed-out color, or both for a full refresh. Fixing the print's surface first means later steps work on a cleaner base.
Step 3: Enhance facial details carefully
For overall softness, use the photo enhancer with the portrait scene, which is tuned for faces and processes them with face-aware settings. Eligible photos also get a supported 2× enlargement. Then stop and compare: zoom into the eyes, mouth and hairline with the before/after slider. If anything about the face reads differently — a straighter nose, smoother skin, a changed gaze — re-run with the general scene instead, which is less face-focused.
Step 4: Upscale for printing or sharing
Once the photo is clean and the faces check out, enlarge it with the image upscaler — 2× for screens, 4× or a higher resolution target for prints. This step enlarges existing structure rather than redrawing the picture, so it is the safest place to gain pixels.
Step 5: Verify with a side-by-side comparison
Accept a restoration only after checking it against the original:
- Identity — would a relative still recognize the person instantly?
- Details — do moles, glasses lines, hairstyles and clothing folds match the original?
- Text — dates or captions on the back or border still correct, letter by letter?
- Texture — does skin look like skin, or airbrushed?
Keep the original file alongside the restored one. For archival value, the pair is the record: the untouched scan preserves the evidence, the restoration shows the interpretation.
What tools can restore old family photos?
| Tool | What it does | Watch out for |
|---|---|---|
| EnhancerPhoto restoration | Scratch/dust cleanup and tone refresh at original size | Does not rebuild fully destroyed faces; no auto colorization |
| EnhancerPhoto enhancer (portrait) | Face-aware whole-photo enhancement, supported 2× output | Generative path can subtly alter details — always compare |
| EnhancerPhoto upscaler | 2×/4× enlargement of existing structure | Cannot add detail the source never had |
| Dedicated local/Browser tools (e.g. in-browser restorers) | Process images on-device | Verify each tool's export policy and quality yourself |
This table is maintained by EnhancerPhoto and reflects each tool's listed behavior at the time of writing — treat any tool, including ours, as something to verify with your own photo rather than trust blindly.
Real before-and-after: what actually changes
Across typical old family photos (1950s–1990s prints at 300–600 DPI scans), a realistic outcome looks like this:
- Scratches and dust disappear; paper texture calms down.
- Contrast and color return toward believable tones.
- Faces sharpen — eyes and mouth gain definition, small blemishes soften.
- The photo often doubles in size for modern screens.
What does not happen with a face-safe workflow: the person does not become a different person, hairlines do not move, and expressions do not change mood. If you see those macro changes, the enhancement was too aggressive — re-run from the original with gentler settings.
Frequently asked questions
Can AI restore a severely blurred face?
Partially. Sharpening and upscaling make a blurred face clearer and more recognizable, but they cannot recover features the camera never resolved. Expect improvement, not a high-resolution portrait from a smudge.
Can I restore family photos for free?
Yes, within limits. Visitors on enhancerphoto.com can use the tools without an account through a shared daily free allowance (8 credits per day at the time of writing; restoration cleanup costs 8 credits per run), and downloads carry no watermark — the free tier's exact rules are covered in free AI photo enhancers without watermarks. Regular or batch restoration uses account credits — see pricing.
Will AI make the person look different?
Possibly, by a little. Damage repair enlarges what is there, but heavily degraded regions are reconstructed by prediction, which can shift small details. The workflow above keeps this risk small and gives you a slider to catch it; final judgement always belongs to someone who knew the person.
Can I restore photos without installing software?
Yes. Every tool in this guide runs in a normal web browser — upload, process, compare, download.
Are uploaded family photos kept private?
Photos are processed in the cloud, stored only for the uploader, auto-expire after 24 hours (guests) or 7 days (signed in), and can be deleted at any time. Nothing is published or shared by default.
Restore your first photo
Upload one photo to photo restoration and compare the result with the slider — that single comparison teaches you more about your photos than any specification list. When the print is clean, finish with the portrait scene on the photo enhancer and, if you need pixels, the image upscaler.
Related guides
- How to make old blurry photos clearer with AI — why photos read as blurry and the step-by-step clearing workflow.
- Best free online AI photo enhancers in 2026, compared — which free tier fits restoration work and how each tool's limits compare.